Fix QuickBooks Error 15271: Maintenance Release & Update Error
It only takes a few clicks to update payroll in QuickBooks by browsing the settings. The basic job of updating QuickBooks Payroll can occasionally become challenging due to errors though. One of the most typical occurrences in the history of QuickBooks is Error 15271. Finding a solution to this problem is therefore essential. This blog answers all of your questions and concerns about the issue and fixing techniques.
A Brief Review of QuickBooks Error 15271
Windows checks the downloaded file for integrity before allowing a user to apply the most recent payroll updates. An "A File Cannot Be Validated" error is produced by Windows if it finds flaws in the downloaded file. While updating additional Windows software, QuickBooks error 15271 can appear. When a user meets a payroll update error in QuickBooks, an error message is displayed.
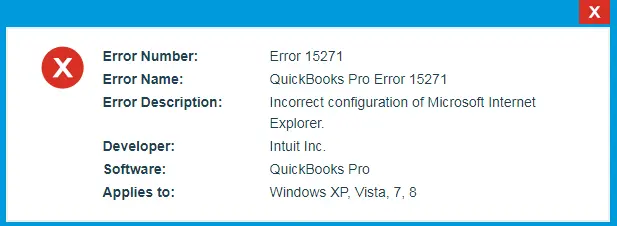
“Error 15271: The payroll update did not complete successfully. A file cannot be validated.”
Causes of QuickBooks Error 15271
The following list contains each of the known causes of QuickBooks Desktop update error 15271:
- Outdated QuickBooks Desktop software.
- QuickBooks error 15271 payroll may be brought on by a faulty version of QuickBooks Desktop.
- Background QuickBooks Desktop operations are being halted by Windows security software.
- The QuickBooks error code 15271 may be brought on by out-of-date payroll tax tables.
- QuickBooks cannot install the updates because of improperly configured Windows User Account Control (UAC) settings.
Methods To Resolve QuickBooks Error 15271
Method 1: Disable Windows' UAC
You must disable Windows' "User Account Control (UAC)" in order to fix this. Please follow these instructions:
In Windows Vista
- First, select "Windows."
- Select "Control panel" at this point.
- In the provided search dialogue box, enter "UAC." Press the "Enter key" key.
- Click "ON" or "OFF" to turn on user account control (UAC) now.
- Click the "Ok key" button.
- Lastly, perform a single device reboot.
In Windows 7, 8, and 10
- Open the "Control Panel" settings.
- Under Windows 7: Select Control Panel under Start.
- OS Windows 8: Type "Control Panel" into the Start menu, then select Control Panel.
- Enter "UAC" in the search field.
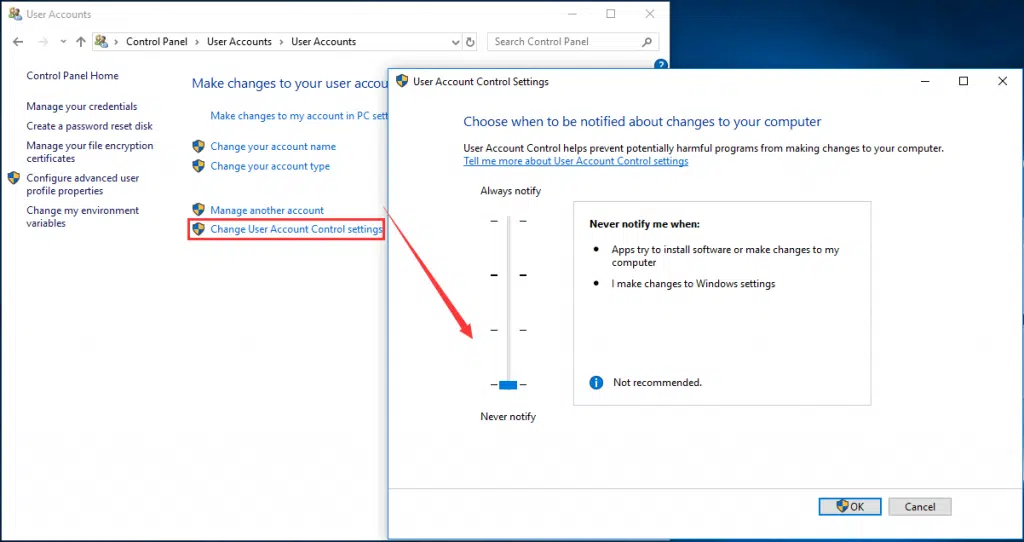
- Then select "Change User Account Control."
- Move the slider to "Never notify" to disable the UAC.
- Select "OK." If you're asked for the "Admin password" or confirmation, enter it or provide your consent. Restart your system if you want to make any modifications.
- Now switch your UAC to "ON": Set the slider to the desired notification time.
- Select "Ok key" by clicking.
Method 2: Modify the System Registry
- Apply any registry software fix first, allowing users to quickly fix damaged registry entries relating to QuickBooks applications.
- The "Start" key button should be pressed first.
- Enter a command after that in the provided search dialog box. Don't press the enter key.
- Now, on your keyboard, hit the "Enter" key while pressing or holding the "Ctrl + Shift" keys.
- Choose the "Yes" option when a permissions window pops up.
- Twinkle cursor will appear when a black box emerges.
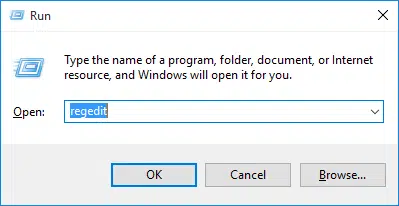
- Then type "regedit" and press the "Enter" key after selecting a menu option.
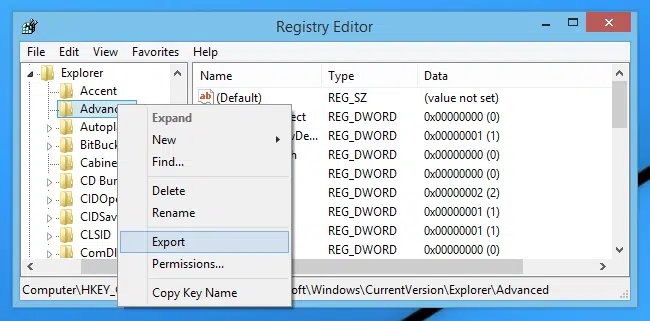
- From a registry editor, choose the "failure 15271" (at which the file you wish to backup is located).
- Select "Export" from the main file menu at this point.
- From the save option's list, choose the folder where you wish to save your data backup.
- Save the file, and then ensure that the selected branch is included in the export range.
- After that, address the malware contamination attack. Now arrange the spyware from your system using the malware removal tool.
- Now cleanse a system of all unwanted and useless records (this will consist of temp files & folders).
Method 3: Remove All The Junk Files From Your System
- Firstly, run your PC a "full malware scan."
- Get rid of all your "Junk files" (including temp files).
- Immediately update the device drivers on your PC.
- Now attempt to use the Windows system to rectify it and restore them following recent system changes.
- Installing QuickBooks Pro again after uninstalling it initially may fix the critical issue 15271.
- Start the "Windows System File Checker" by typing "sfc scannow".
- Install as many of your Windows updates as you can.
- Finally, install your Windows OS from scratch.
Method 4: Update QuickBooks Desktop to The Most Recent Version
- Select "Update QuickBooks" from the "Help menu."
- Select the "Options tab" on the "Update QuickBooks window" at this time.
- By selecting the "Radio button" for "Yes," you can enable automatic updates.
- Go ahead and click "Close."
- Now, the most recent release update for QuickBooks will download.
Method 5: Install QuickBooks Completely in Selective Startup Mode
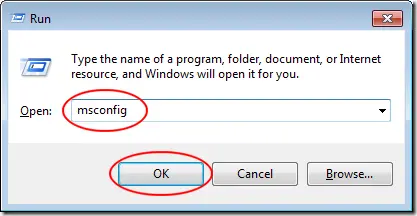
- You must first press the "Windows" button while simultaneously holding down the "R" key on your keyboard.
- This will cause the "Run" dialogue box to appear.
- After entering "msconfig," hit the "OK" key.
- You must select it on "Selective Startup" in the general section of the main menu tab.

- Then select "Load System Services."
- Following that, select "Services" and then "Hide all Microsoft services."
- Select the "Disable all" tab.
- Turn off "hide all Microsoft services" now.
- Check the service list to make sure the Windows installation is marked as checked. If not, mark it as checked and click "OK."
- Now select "Restart" from the "System Configuration" menu.
- Once the computer has rebooted, run an "uninstallation" and then a "reinstallation" of QuickBooks.
Final Words!!
We sincerely hope that this article was helpful to you and that you are now able to resolve QuickBooks error 15271 on your own. If you lack the technical expertise or have a concern about your QuickBooks Software, you can ask our QuickBooks specialists directly. Call us at +1-800-615-2347 for QuickBooks payroll technical support.
Related Articles:
How You Can Resolve the QuickBooks Payroll Error 15222?


Comments
Post a Comment